In the Vendor's dashboard, click
Inbox Jobs folder in the left
pane.
The claimed jobs appear.
Choose a job and click Upload.
The Job Information screen appears.
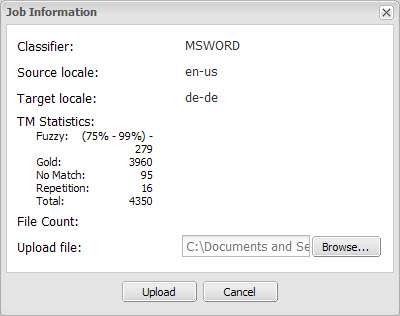
Click Browse
and select the zipped file or folder, if you want to upload a batch.
Note: The uploaded file or folder must always be zipped.
Click Upload.
The uploaded job now moves to the Sent
Jobs folder.
Note: If this is the final step in the workflow the uploaded
job then appears in the Archive Submissions
folder in the Client's dashboard. If the workflow includes the review
step, a new review project is created in the GlobalLink Translation &
Review Portal. Refer to the GlobalLink Translation & Review Portal
Help for more information.