Adding a GlobalLink® TM Server 2 or 4 Profile

  1. Open the Project Director Administration dashboard and click TM folder.

    The Translation Memory page appears.

  2. Click Add TM Profile.

    The TM Configuration Wizard appears.

  3. Enter the Profile Name.
  4. Select Plugin Name as TM 2 Processor or TM 4 Processor.
  5. Select Translation Memory Type as gltm.
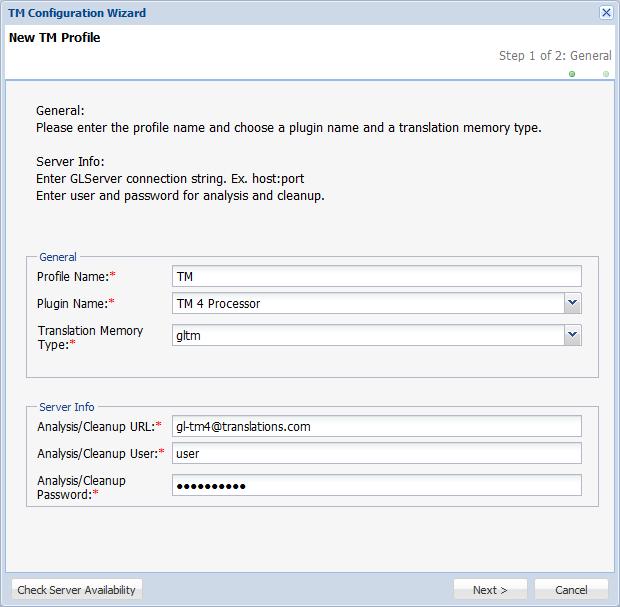
  6. Enter the TM configuration details based on the TM string.

    For example, for the TM string gltm://user:tdc1234@gl-tm2.translations.com:000/1234567890, the configuration details are as follows:

    • Analysis/Cleanup URL: gl-tm2.translations.com

      Use the prefix https:// for the URL.

    • Analysis/Cleanup User: user

        Note:

      The username should already be configured in the gltm server.

    • Analysis/Cleanup Password: tdc1234

    Click Check Server Availability to confirm that all data entered is correct and that the TM is available.

    • If the TM server is available a green check mark appears

    • If the TM server is not available, a red cross mark appears

  7. Click Next.

    The Configuration dialog box appears.

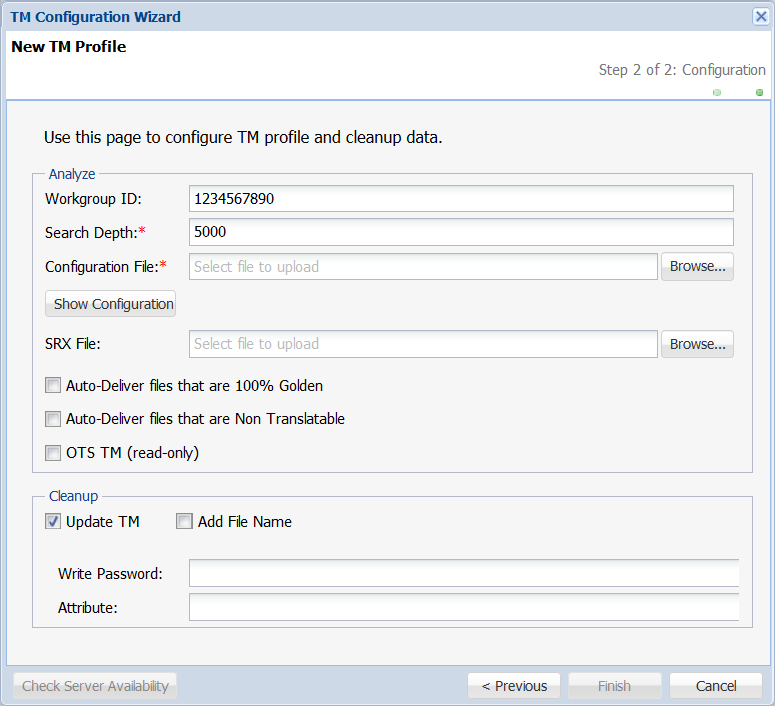
  8. Enter the Workgroup ID to leverage from private Translation Units (TUs) with that ID and the public TUs.
      Note:

    To clean up and update the TM to leverage the content in the future, you must select Update TM under the Cleanup tab and enter the Write Password.

  9. Enter the Search Depth.
      Note:

    Search depth signifies the number of results that can be viewed for a particular search. For example, if you are looking for segments containing the word "hotel", only the first 200 segments in the remote TM containing that word will appear. This value is relevant only for GlobalLink TM Server 2 TMs.

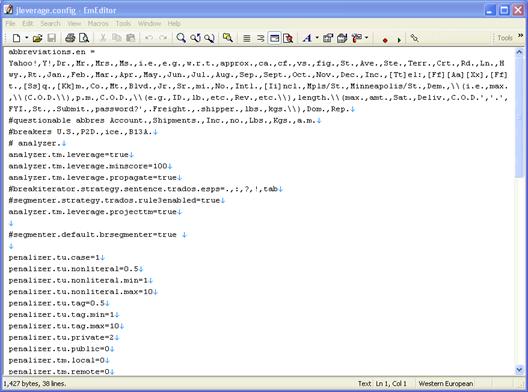
  10. Browse and select the Configuration File.
      Note:

    The configuration file contains the settings to be used during leverage.

  11. Click Show Configuration to view server configuration.
  12. (Optional) Browse and select the SRX File.

    The SRX file contains segmentation rules to specify how segmentation occurs across all languages or for specific languages.

  13. Check the Auto-Deliver files that are 100% Golden checkbox to enable auto delivery of files that are 100% golden.
  14. Check the Auto-Deliver files that are Non Translatable checkbox to enable auto delivery of non translatable content
  15. Select Update TM check box for updating translated content to the TM.
  16. Select Add file Name checkbox to add file name as a custom attribute during cleanup.
  17. Enter the Write Password to clean up and update the translated content as golden.
  18. Enter attributes for the translation unit in the Attribute text box.
  19. Click Check Server Availability to test the TM server connection.
    • If the TM server is available a green check mark appears

    • If the TM server is not available, a red cross mark appears

  20. Click OK.

    The new TM profile will appear on the Translation Memory page. The TMs configured here must be enabled in the Project and added to the Organization to ensure they are leveraged when submissions are created for translation. Refer to Managing Projects for more information.

      Note:

    GLTM with TM2 processors are used for TXML file format and TM4 processors are used for TXLF file format.