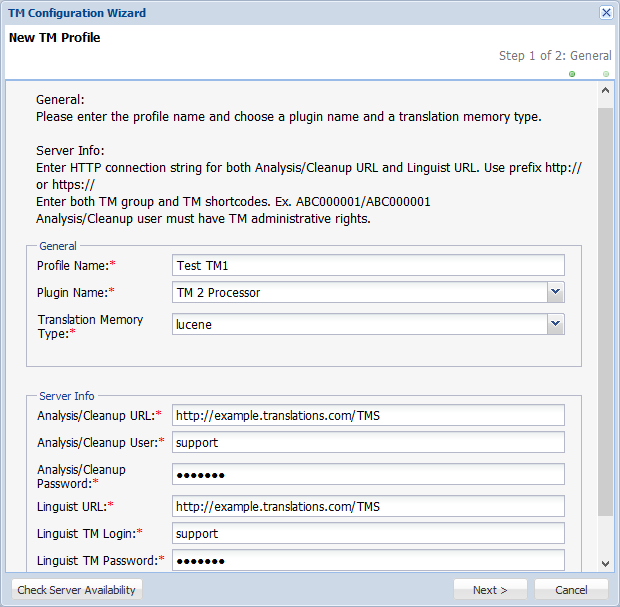
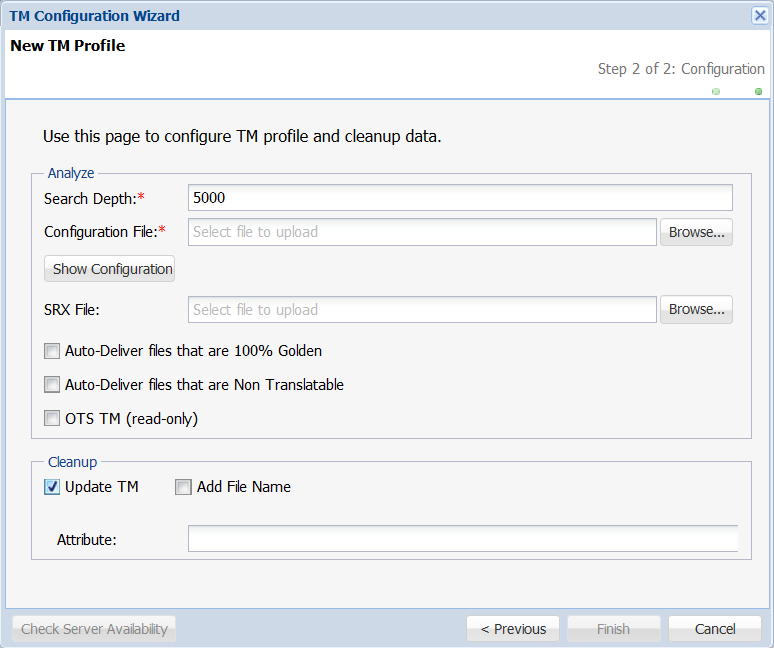
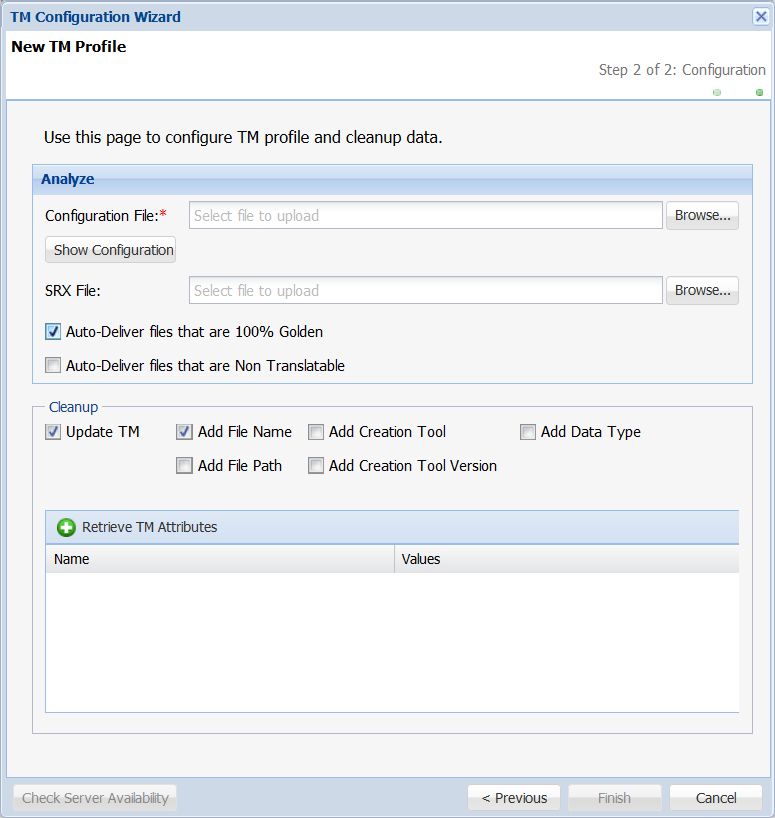
Analysis/Cleanup URL
|
http://example.translations.com/TMS
Use prefix http:// or https://
|
http://example.translations.com/TMS
Use prefix http:// or https://
|
Analysis/Cleanup User
|
User must have TM administration rights
|
User must have TM administration rights
|
Analysis/Cleanup Password
|
Enter analysis/clean up password
|
Enter analysis/clean up password
|
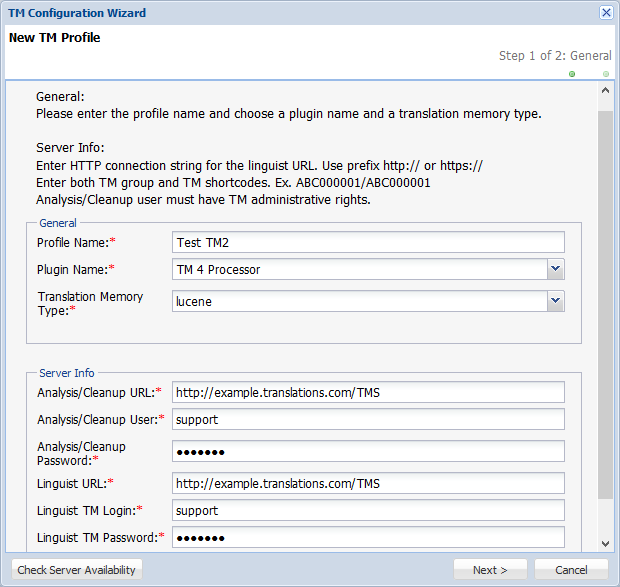
Linguist URL
|
http://example.translations.com/TMS
Use prefix http:// or https://
|
http://example.translations.com/TMS
Use prefix http:// or https://
|
Linguist TM Login
|
Enter linguist login credentials
|
Enter linguist login credentials
|
Linguist TM Password
|
Enter linguist login password
|
Enter linguist login password
|
TM Name
|
ABC000001/ABC000001
Enter both TM Group and TM shortcodes
|
ABC000001/ABC000001
Enter both TM Group and TM shortcodes
|