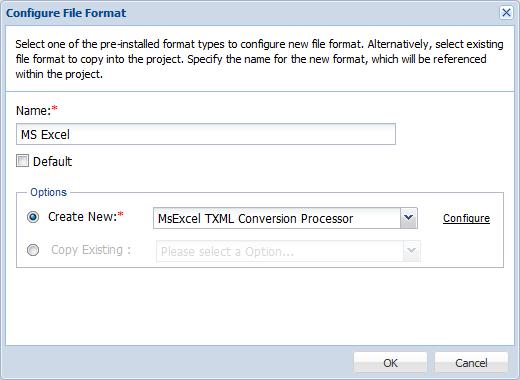
Select the Default checkbox to mark the file format as the default selection. This is will enable quick selection of file formats while adding submissions.
Select Create New to create a new Excel file format from a pre-installed file format. Select the pre-installed Excel file format option from the drop down list.
The Configure option will be activated.
Click Configure.
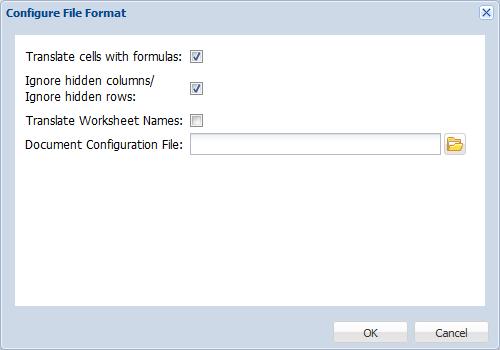
The Configure File Format &endash; Excel dialog box appears.
Check the corresponding checkboxes to Translate cells with formulas, Ignore hidden columns/rows during analysis, and Translate worksheet names.
Click to browse and select the Document Configuration File.
Click OK.
The new Excel file format appears in the File Formats tab. This file format can be further edited by clicking on .
 .
.
 to browse and select the