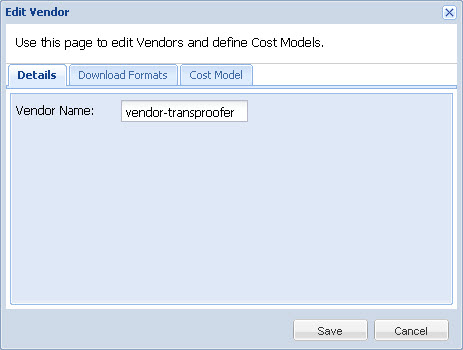
- Select a vendor from the Vendor list and click Edit Vendor.
- You can modify the vendor details under each of the following tabs:
Download Formats: Select the download formats for the vendor. The options available are:
Default Format - TXML
TTX Format
GLP Format
TXLF Format
Cost Model: Enter the Cost based on the Cost Scope and Language direction.
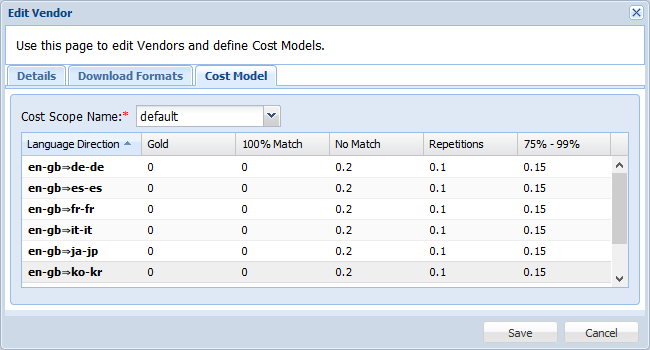

Note: The Cost Scope is defined separately. Refer Managing Cost Scopes for more information. A Cost Scope is typically defined as follows: new words, fuzzy matches, 100% or golden matches and repetitions. Each vendor has rates defined for each of the Cost Scope’s brackets, for each language direction they supply. These rates are applied to the TM analysis word counts to generate the Quick Quote or Auto Quote statistics.
A User must be defined and assigned to a Vendor before a Vendor’s cost metrics can be entered. If a new user is added and assigned to a Vendor, whatever new language directions that user is capable of will be available for cost entry.