Uploading Completed Submissions

To upload a completed submission:

  1. Open the Project Director dashboard (Active folder) and select a submission.
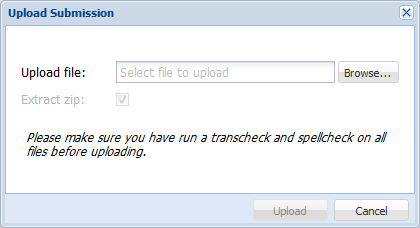
  2. Click Upload under the translation tab as shown in the screenshot below.

      Note:

    Individual submissions do not need to be selected before clicking Upload. Files that span multiple submissions can be uploaded at once.

    The Upload Submission dialog box appears.

  3. Click Browse and select the file or zipped folder if you want to upload a batch.
      Note:

    In combined phases such as Desktop Publishing (DTP), the translated TXML file and aligned file must be uploaded together as a .zip file.

  4. Click Upload.

    An error message will appear if the file(s) did not upload properly. This happens if the uploaded file is incorrect, includes untranslated segments and / or it is not in the correct translatable file format, which is TXML/TXLF or TTX.

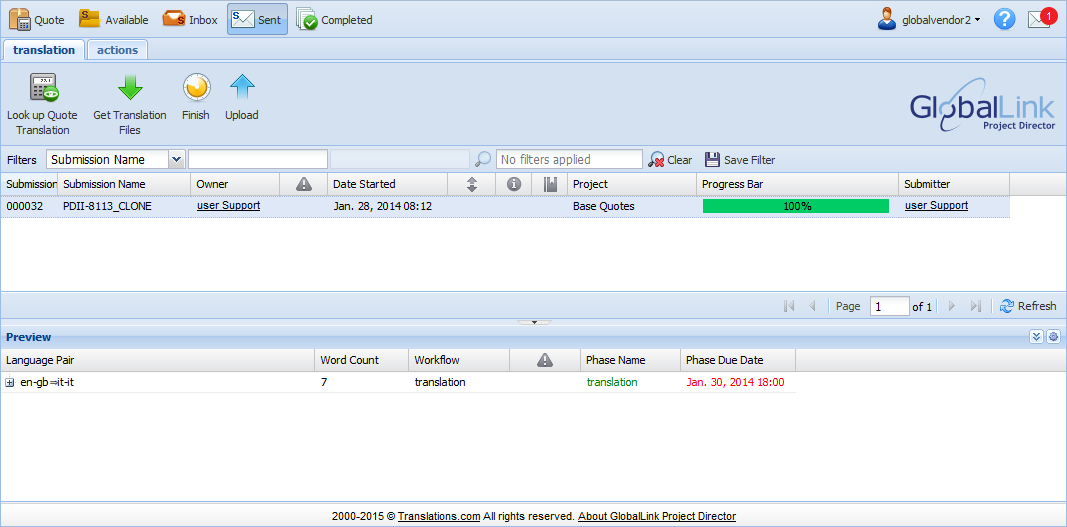
    Once the translated files are uploaded the Progress Bar will be highlighted in green based on the percentage that is completed. After successfully uploading files for the step, the submission moves from the Inbox folder to the Sent folder. In the example screenshot below the percentage completed is 100% as the translation for the submission is complete.

      Note:

    If this is the final step in the workflow and all the translated files have been uploaded, the Workflow Status of the uploaded submission will be Completed and the Progress Bar will be highlighted in green and 100%. If this is not the final step in the workflow, the Workflow Status of the submission will indicate the specific task name. The Finish button appears based on configuration at the Project level by the System Administrator. Clicking on Finish will move the submission from the Sent folder to the Completed folder once all the phases in the workflow are uploaded.