- Click Add User.
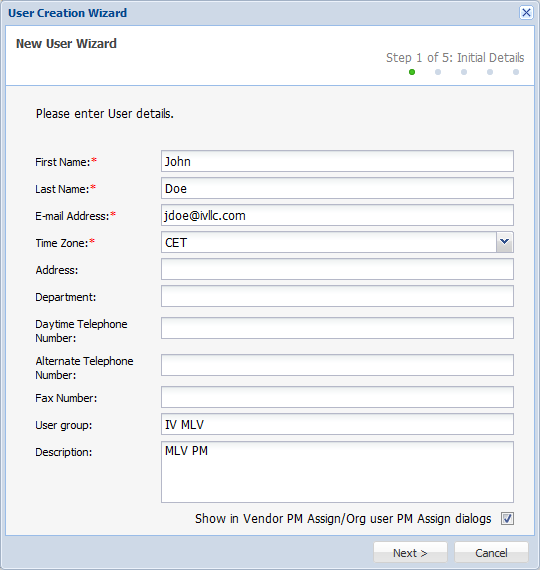
- Enter the following User information in the appropriate fields:
Time zone: Project Director uses the time zone setting from the Windows operating system and will display time according to the local time zone setting. The timezone set here is only for informational purposes.
Address, Department, Daytime Telephone Number, Alternate Telephone Number and Fax Number: These entries are optional.
User Group: User groups are used to organize Vendor or Organization users by the Vendor or Organization they belong to. When using PM Assign, a user belonging to a User Group will only see other users of their User Group that they can assign submissions to.
Description: Information entered in the Description field should be information that is useful to a user using the PM Assign or Vendor PM Assign feature.
The user description is displayed next to the User's name in the PM Assign dialog box if Show in Vendor PM Assign/Org user PM Assign dialogs is enabled.

- Click Next.
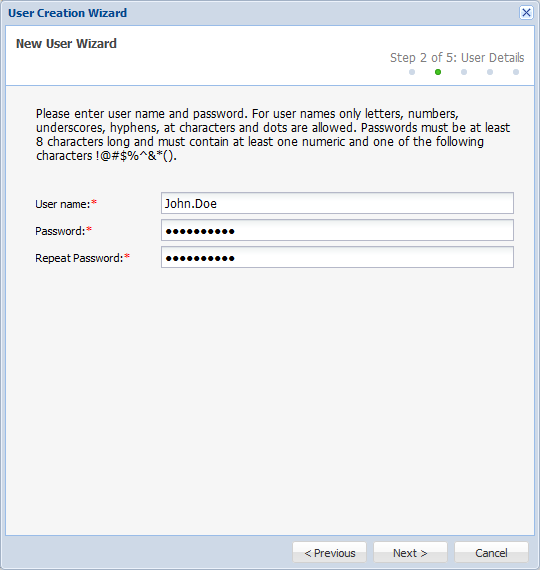
- Enter Username, Password and Repeat Password.

Note: The password information is case-sensitive and each field has a limit of 128 characters. The password must be at least 8 characters long and must contain at least one numeric and one of the following characters: !@#$%^&*(). The password will expire in 90 days. If non-expiring password policy is enabled for the User then the password does not expire. This policy should be enabled for web service users only.
- Click Next.
- Select the appropriate roles for the User.
Note: The User rights are linked to the User role. To learn more about each role and defining roles, refer to Assigning User Roles and Rights.
- Click Next.
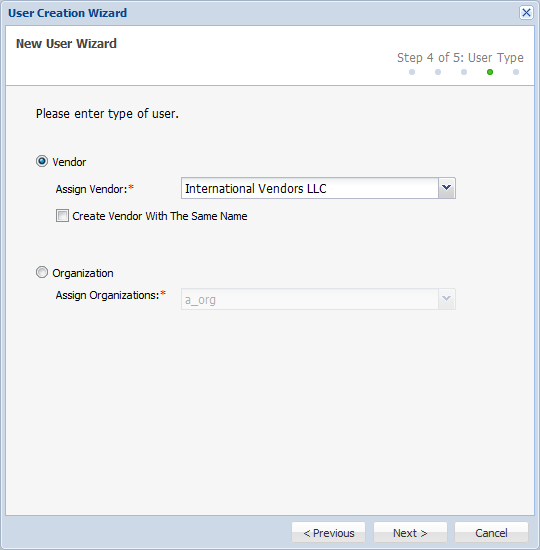
- Enter the type of the User role.
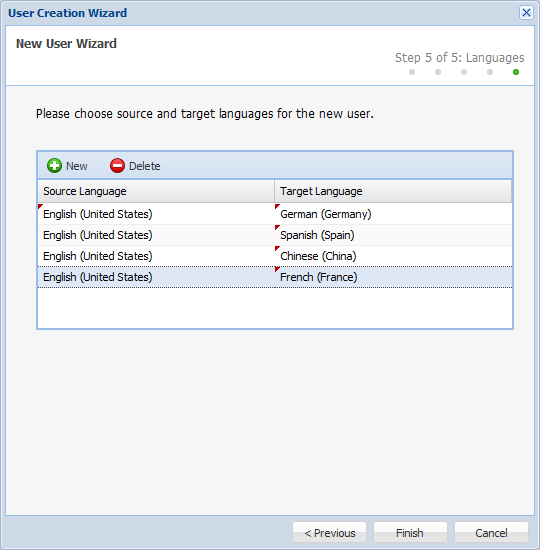
- Enter the Source and Target Languages that the Vendor User will service and click Finish.
The new user details appear in the User list.
Note: You can change the User details and assign another role or organization to the User, enable e-mail notification and enable or disable the User by editing the user. Refer to Editing Users.