Selecting Vendors

  1. Complete steps 1 to 12 in Selecting Vendors.

    The Go To Select Vendors button is enabled.

  2. Click Go To Select Vendors.

    The Select Vendors dialog box appears.

      Note:

    The language tabs in red indicate that no vendors have been assigned, while the tabs in green indicate that some vendors are already assigned.

    The selected vendors will be retained for the specific project, if selected as Client Vendors. However, these selections can be changed by anybody who has access to the project and Select Vendors policy enabled. Users can overwrite each others selections when creating new submissions.

  3. Use the green arrow buttons to move the chosen vendors from the Available Vendors to the Selected Vendors list.
  4. Select the Client Vendors checkbox to choose the vendors by default for all future submissions created for the current project.
  5. Click Apply.
  6. Complete the vendor selection for each language by selecting the corresponding tab.
  7. Click OK, once all vendors are selected.

    The Manual Submission dialog box appears.

  8. Continue updating the manual submission and proceed to step 13 in Selecting Vendors.

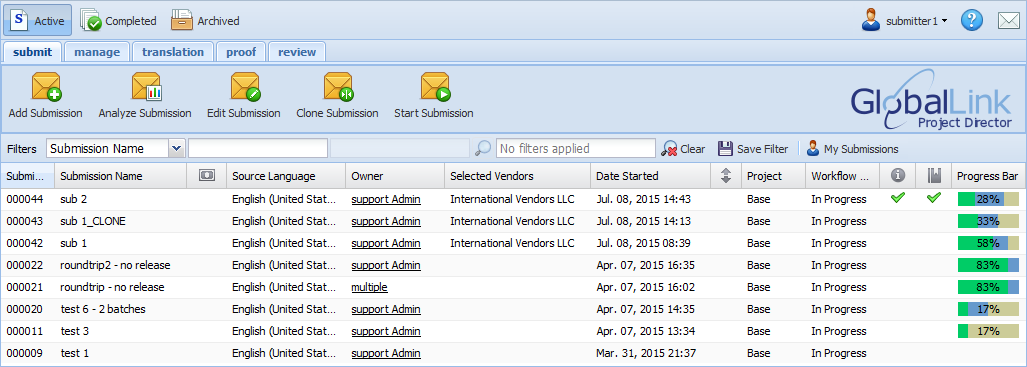
    After the submission has been saved or started, the selected Vendor is visible in the Selected Vendor column of the dashboard.
      Note:

    Once the submission is started, if the project includes the quote step, the chosen vendors can now view the file(s), instructions and reference material, and proceed to create a quote for the submission. The vendor can claim the submission only after the submitter approves the quote. If the project does not include the quote step, vendors can proceed to claim the submission for translation. Once the vendors claim the submission, those vendors are grayed out on the Select Vendor dialog box. Selecting a vendor does not assign the submission to that vendor; it only makes them eligible to claim the submission from their Available folder.