The manual submission process allows the submitter or project manager to upload files, select target languages, file formats and workflows. The vendors assigned to work on the selected target languages will be notified and can download the files from their dashboard.
To submit files:
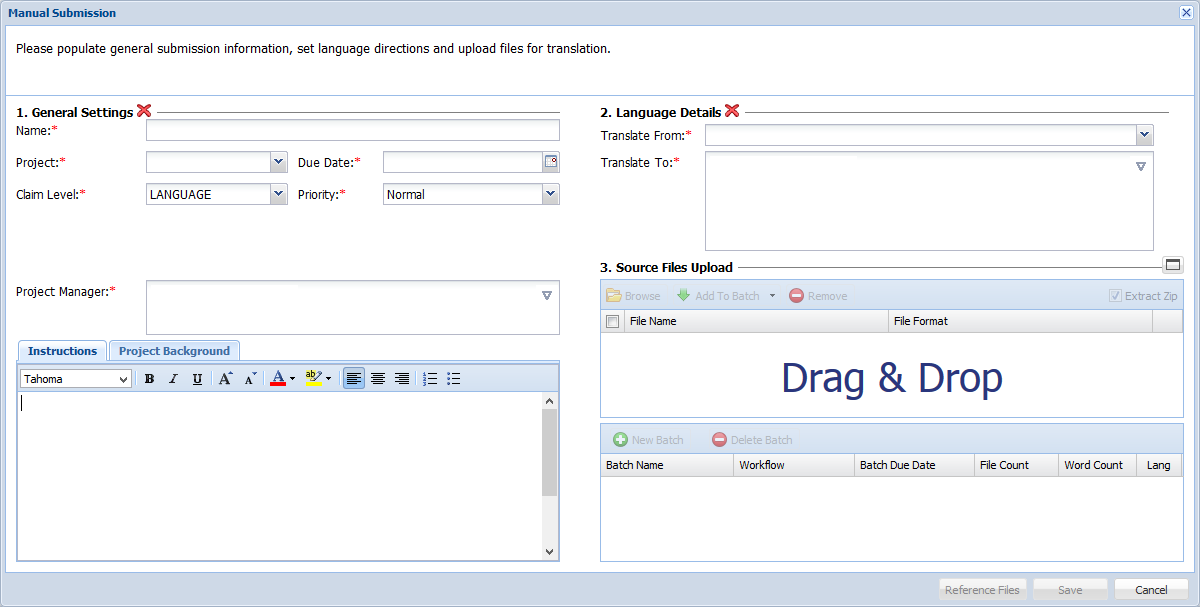
- Open the Project Director dashboard and click Add Submission under the submit tab.
- Enter the following General Settings:
Option
Description
Enter a unique name for the submission.
Select the project.
Note: The selected project determines the workflows available to the submitter, the source and target language list, file formats and vendor information. The Quote Required, Submission Template and Custom Fields options are enabled if configured for the project.
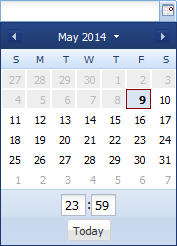
Click the calendar icon and select the submission due date and time.
Select a Claim Level from the drop-down list. The options available are:
Batch: select if the vendor must claim a complete batch for translation at all times.
File: select if the vendor can claim a file for translation. This option is not available for Quote workflows.
Language: select if the vendor can claim one or more languages from a submission for translation. Language level claim is available when quote is configured at Project level. This is the default selection.
Select the priority of the submission. The default selection is Normal.
Select if you want to review a detailed quote from the vendor(s).
Note: This checkbox will be available if the feature is enabled in the selected project.
Select if you want to create a submission template.
Note: This checkbox will be available if the feature is enabled for your user role. Refer to Creating Submission Templates.
Select the submission project manager(s).
Note: The submitter will already be added as the PM, but others can be added. A user who is added as a PM has full control of the job within Project Director and will receive all notifications.
Instructions
Enter instructinos for the Vendor. You can also upload reference material. (Optional)
Project Background
Click tab and enter a Project Background. (Optional)
Note: The Project Background can be viewed by Client Submitters chosen as PMs as well as Vendors.
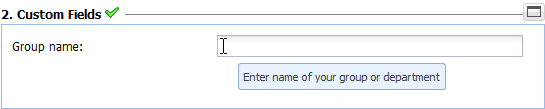
- Enter Custom Fields as described in the tool tip that appears when you hover over the entry fields.
- Click tab and enter a Project Background. (Optional)
- Enter the following Language Details:
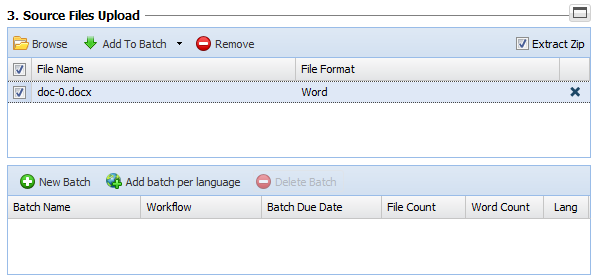
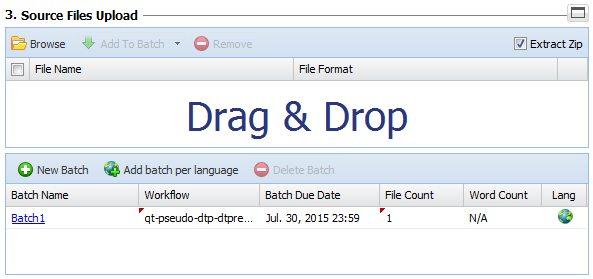
- The Extract Zip checkbox is checked by default to automatically extract uploaded zipped files.
- Click
 to select the source file(s). You can also upload a batch as a zipped folder.
Note: If you are using Google Chrome, you can drag and drop files into the Manual Submission dialog box.
Folder sets may not be uploaded as Source Files due to browser restrictions. If you need to upload a folder containing subfolders with files, then the folder should be compressed and uploaded as a ZIP file.
The Upload Source Files folder appears.
Note: If a particular file format is not configured, Project Director will categorize the uploaded files as Non-parsable.
For Excel files, content from all columns will be processed for translation unless a rules file has been provided and a specific Excel format setup for that configuration.
If the Microsoft Word filter is set up with the Accept all Changes and turn off Track Changes option disabled, then doc/docx files with Track Changes turned on will be rejected.
Embedded objects within MS Office source files such as Word, PPT and Excel will not be parsed.
The native InDesign filter uses InDesign Server version 5.5, 6 or CC to parse INDD files. While INDD files from older versions of InDesign will match the version of the server that converted the INDD. It is not possible to save down to a lower version.
If images within MS Office files require translation, provide a note in the Special Instructions field.
Do not upload reference files as source files. Be aware that all files uploaded in the Upload Source Files dialog box will be translated.
- Click , then
 to select file(s).
 - Click Add Files.
- Click Add to batch to upload the source file(s).
A new batch is created in the panel below.
Note: You can divide the uploaded files into separate batches and upload different formats to a batch
Ensure that the name of the file being uploaded does not include the following characters: < (less than), > (greater than), : (colon), " (double quote), / (forward slash), \ (backslash), | (vertical bar or pipe), ? (question mark), * (asterisk).
Project Director will reject files containing any of the system characters listed above
Left-click to select the batch and click
 , to delete an existing batch
If the submission requires different source files per target language, click
 to automatically create an empty batch folder for each target language.
When a file is added to a batch target language folder, the default configured workflow of that file type will be automatically chosen as the workflow for that batch.
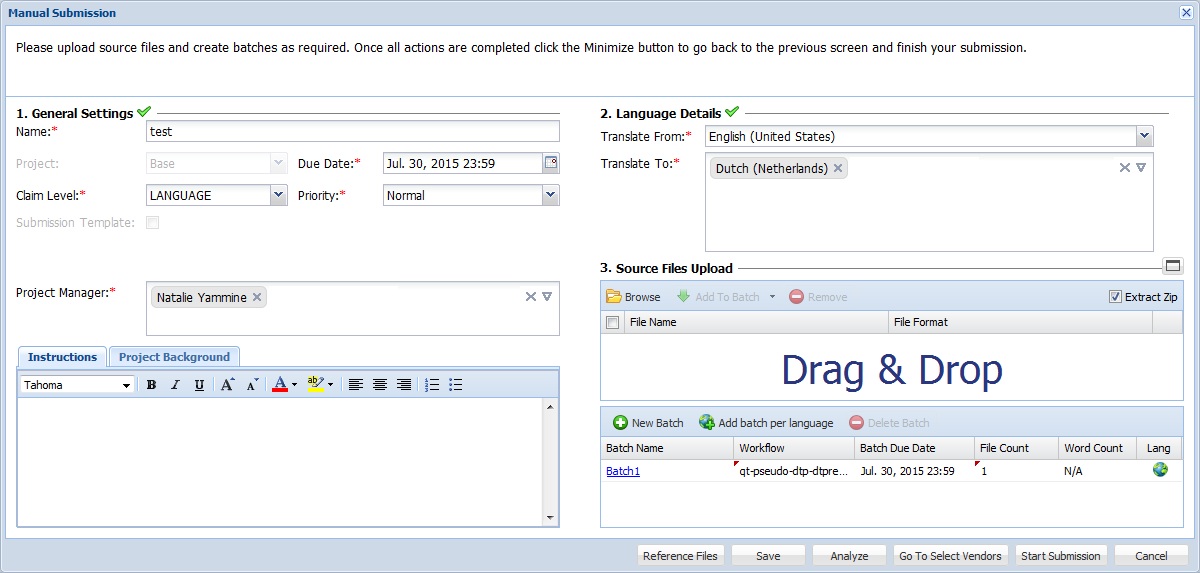
- Once updated, you can upload reference files and select vendors. Refer to Triggering Child Submissions, Uploading Reference Files and Selecting Vendors for more information.
- Complete one of the following actions:
-
Click Save, to save the submission.
A new submission is created in the On Hold folder with the Workflow Status Pending.
-
Click Analyze, to view the TM leverage statistics.
A new submission is created in the On Hold folder with the Workflow Status Preflight.
-
Click Start Submission, to start the submission.
A new submission is created in the Active folder with the Workflow Status In Progress.
Note: If the project includes the quote step, vendors can now view the files, instructions and reference material, and proceed to create a quote for the submission. The vendor can claim the submission only after the submitter approves the quote. If the project does not include the quote step, vendors can proceed to claim the submission. If the project includes an auto-quote step, the submitter or project manager can immediately assign a vendor using their respective translation cost for the submission as a guideline.
-